Create Job Posting
Access level required: HR Admin / HR Editor
Creating a Job Posting is pretty easy, but it needs to be done right.
A Job Posting needs to include the job details, a well-written job description, the job location, and a company profile. The more information and good quality content, the better!
Note: A good resource for how to write a good job description is this page from Indeed: https://ca.indeed.com/hire/how-to-write-a-job-description
Dealing with multiple offices, subsidiary companies, or job locations?
For situations where multiple locations are involved, and you find yourself needing a bit more than the basic Job Posting setup, check out our ‘Helpful Guide for Multiple Locations‘ at the bottom of this page.
Let’s Get Started…
- In the WordPress dashboard click on Careers, then Add New
Add New Career

- Under Add New Career in the Add Title field, enter the job name. This should be a common, industry standard Job Name and be as short as possible.
Job Listing Settings

- Status
Leave status as Opened - Starting Date
The day the job listing is to be visible to the public - Closing Date
The day when the application form will be removed from displaying on the job posting - Expires Date
The day the job listing will no longer be visible to the public - Featured Job
When a job listing is set as featured, it will show above all other job listings
Job Details
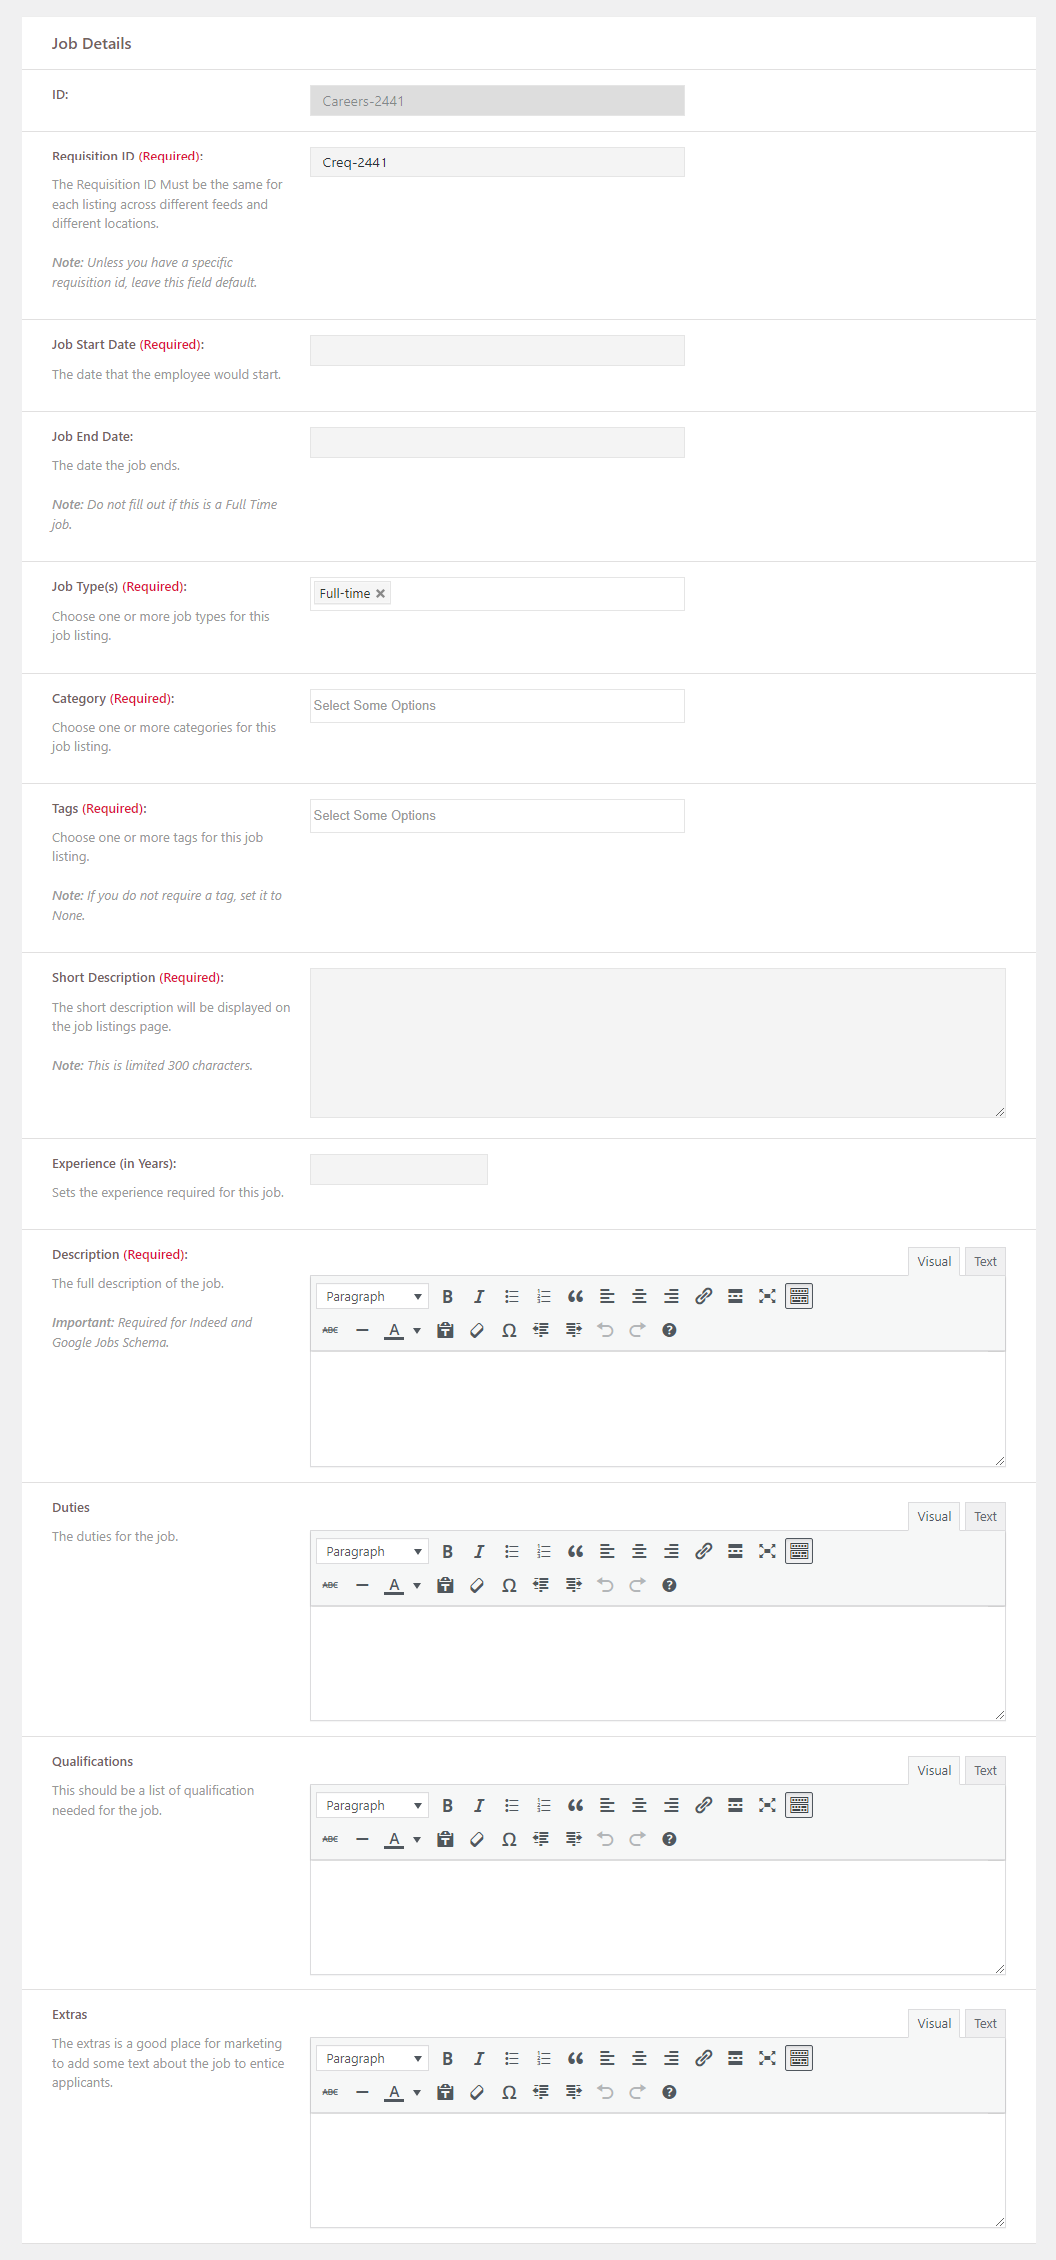
- ID
This is auto-generated and can’t be edited - Requisition ID
A unique, auto-generated Requisition ID is created for all new job postings. Unless you have a specific Requisition ID, leave this default.- Important: If you have the same job posting also posted on other third-party platforms, please ensure the Requisition ID is the same for each. This is mainly important for the Indeed Jobs feed.
- Job Start Date
Date the employee would start the job - Job End Date
Date the job ends (Don’t fill out for permanent jobs) - Job Type(s)
Choose one or more job types (ie: Full-Time, Part-Time, etc.) - Category
Choose one or more of your predefined categories. Categories are created in the Basic Settings, and are used to help with job search and filtering on your website when you have a volume of job postings. IE: Admin for (Office Admin). - Tags
Choose one or more of your predefined tags. Tags are created in the Basic Settings, and are used to help bring attention to your job postings. Using tags is optional. - Short Description
Displayed on the job listings main page and is limited to 300 characters - Experience (in Years)
- Description (IMPORTANT)
The full job description. For better chances of your job showing up in Google Jobs, please do the following:- Write a minimum 300 word description
- Describe the job, not the company
- Include the job title within the description
- Include working hours
- Use industry-appropriate terminology when describing the job
- Mention the job location (city / town, province, country – if needed)
- Describe job responsibilities/duties
- Describe qualification requirements
- Describe skill requirements
- Include experience requirements
- Include education requirements (if any)
- Duties
The duties for the job. Ideal to bullet list duties. - Qualifications
The qualifications required for the job. Ideal to bullet list specific qualifications needed for this position - Extras
A good spot to provide information for promoting your job and enticing potential applicants to apply
Job Location Settings
One Job Location is required and most often will be all you’ll need. Think of it as where your employee shows up to work, which is usually the same address used in your Company Profile. Prior to creating a Job Posting you should have your job location already setup in the Job Location Settings. If not, please do so.
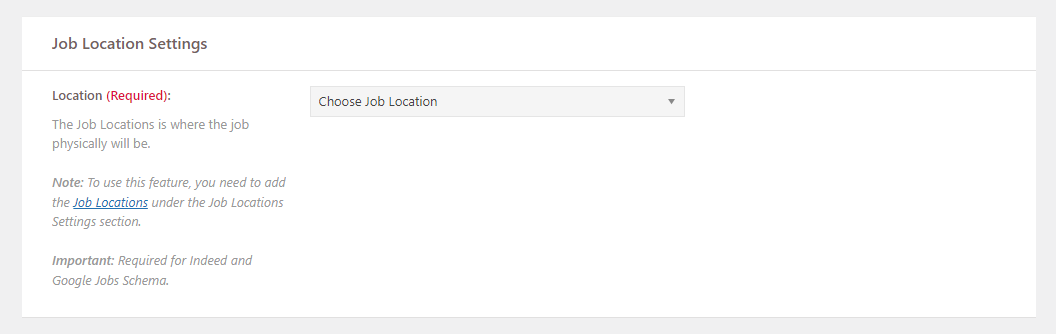
- Location
Select your pre-built Job Location
Have Multiple Job Locations?
Multiple Job Locations should be created for job postings (see Job Location settings) that are for different locations where your employees show up to work. Other locations could be a different office, a different city, a worksite, etc. If you have multiple Job Locations created, select the appropriate one when creating your Job Posting
Wage Settings
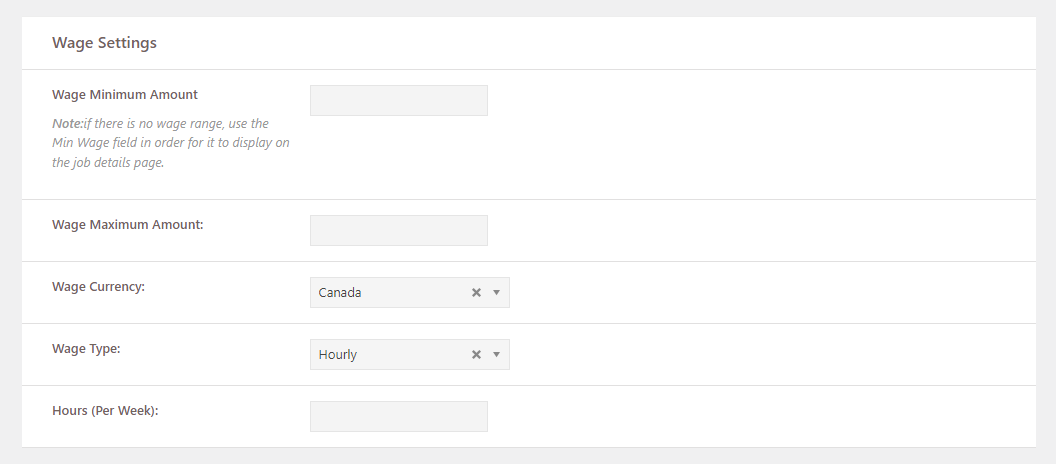
- Wage Minimum Amount
if there is no range in wage, use this field to display the main wage - Wage Maximum Amount
If there is a range in wage, use this field to display the maximum wage amount - Wage Currency
Select the appropriate country - Wage Type
Select from Hourly, Yearly, etc. - Hours (per week)
Benefits Settings

- Benefits
If you have Benefits, select the appropriate pre-built Benefits (setup in Benefits Settings)
Company Profile Settings
A Company Profile is required. Prior to creating a Job Posting you should have one already setup in the Company Profile Settings, which should include your main Company name, address and basic details. If not, please do so.

- Company
Select the appropriate pre-built Company Profile
Do you have Multiple Company Profiles?
If you have multiple Company Profiles created, select the appropriate one when creating your Job Posting. Multiple Company Profiles can be useful if you are a parent company with subsidiary companies, or you have physical offices located in different cities or provinces, and you want to present each office as its own stand-alone entity.
Application Filter Settings
Each job posting displays an application form. The Application Filter is an optional feature that will filter applications, sending them to the Trash, if they are not in the approved geographic region(s) that you specify in the settings (Continent, Country, Province/State).
For example, if you only want applications from people from Canada, you would select Canada from the Country list. You can choose either a single location or multiple, however they must be chosen by either Continent, Country, or Province/State.
- In the Application Filter, choose either Continent, Country, or Province/State
- Additional filter choices will be displayed for you to select your geographic regions
Add a Feature Image (Optional)
Your Job Posting can display a Feature Image which appears on both the main Careers landing page and the Job Posting details page. Feature Images are optional and can be useful if you want to show a particular job location, etc.
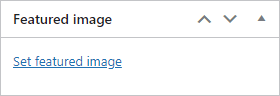
- In the right side column click Set Featured Image, located in the Feature Image box
- The Media Library will be displayed. Here you can choose an existing image within your Media Library, or upload a new image file from your computer.
- With your desired image selected, click the Set featured image button
- The Media Library will disappear and you will now see your Feature Image displayed in the Feature Image box
Last Step… Publish the Job Posting!
To make your Job Posting visible to the public, you need to Publish it.
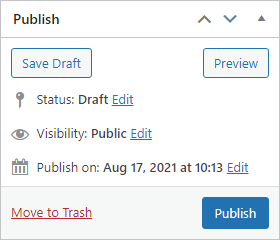
- In the top right of the screen, click the Publish button located within the Publish option box
- Your Job Posting should now be visible on your website
Note: If you aren’t ready to publish your job posting, perhaps you couldn’t finish entering all the information or you want to review it, you can save it as a Draft.
Helpful Guide for Multiple Locations
Check out a few scenarios below that hopefully will address your situation and company HR needs.
Scenario 1: You’re a company with multiple offices and want to post a job for a specific office location.
Scenario: Your main company office is in Vancouver and you want to post a job for your secondary Kelowna office.
- Create a Job Location for the Kelowna office (ie: XYZ Company – Kelowna).
- Then, create your Job Posting and assign the Job Location for the Kelowna Office.
Tip: If you want to your secondary Kelowna office to be regarded as it’s own ‘entity’, and display its own office information instead of the Vancouver office info, you would create another Company Profile for the Kelowna office and assign it to the job posting. You would still need to assign the Kelowna Job Location as well. This requires a bit more work and is only if you feel the need to do so.
Scenario 2: You’re a company with multiple offices and want to post the exact same job position for different office locations.
Scenario: Your main company office is in Vancouver and you want to post a Receptionist job, that has identical job details for both your Kelowna and Calgary offices.
- Create 2 Job Locations, one for each office.
- Create 2 Job Postings with the exact same name and job details, and assign one with the Kelowna Job Location and the other with the Calgary Job Location.
Scenario 3: You’re a parent company and want to post a job for your subsidiary company.
Scenario: Your parent company named ‘Vanco‘ is in Vancouver, and you have a subsidiary company in Kelowna ‘Kelco‘ for which you want to post a job for.
- If you don’t already have one, create a Company Profile for ‘Kelco‘.
- If you don’t already have one, create a Job Location for ‘Kelco‘.
- Create a Job Posting and assign the Kelowna Company Profile and Job Location.
Tip: When it comes to subsidiary companies, it’s best for them to have their own Company Profiles and Job Locations.