Layout Settings
Access level required: HR Admin / HR Editor
The Layout Settings determines how your job postings will be displayed on the main Careers landing page.
Job Listings View
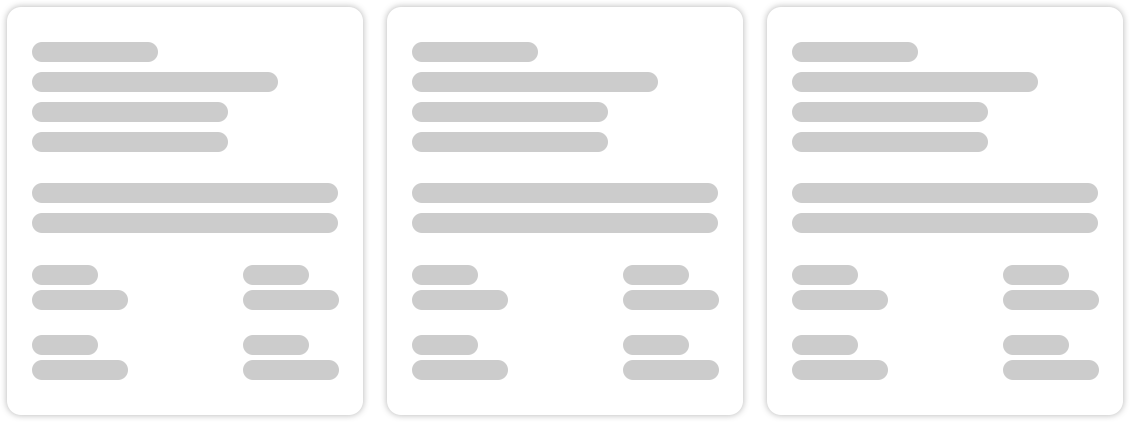
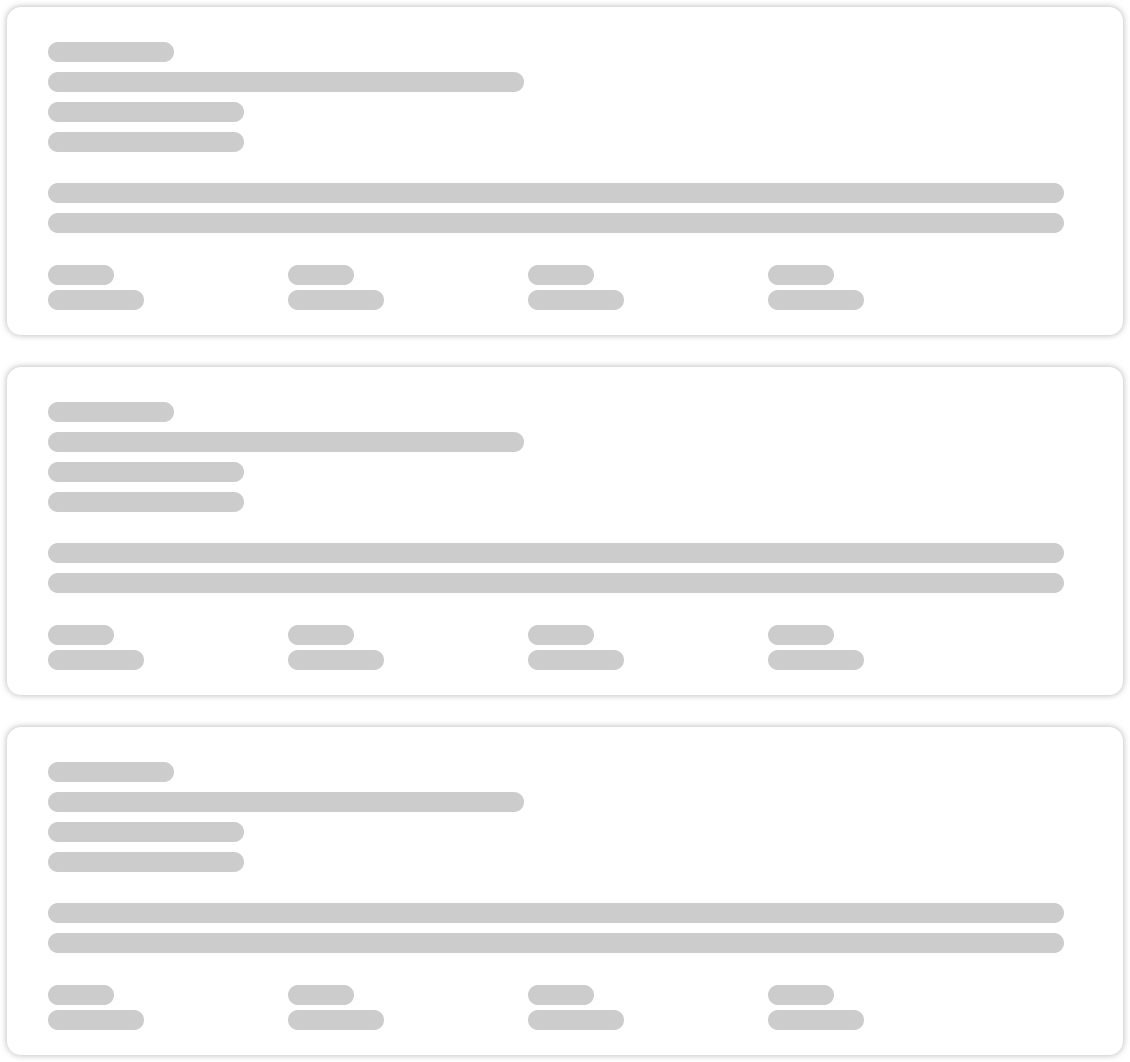
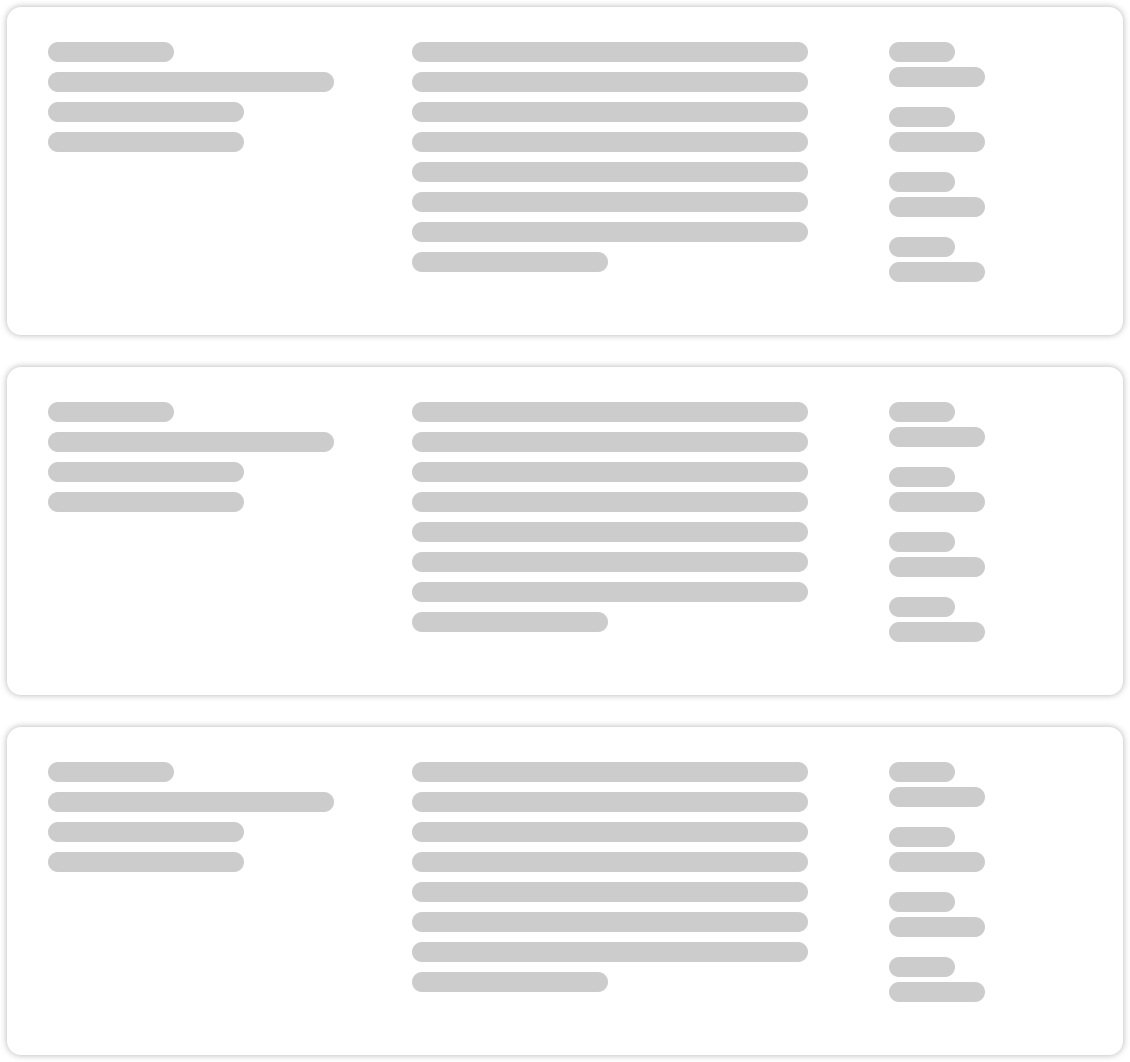
There are 3 View options for the main Careers landing page, Grid, Row, and Row with Columns.
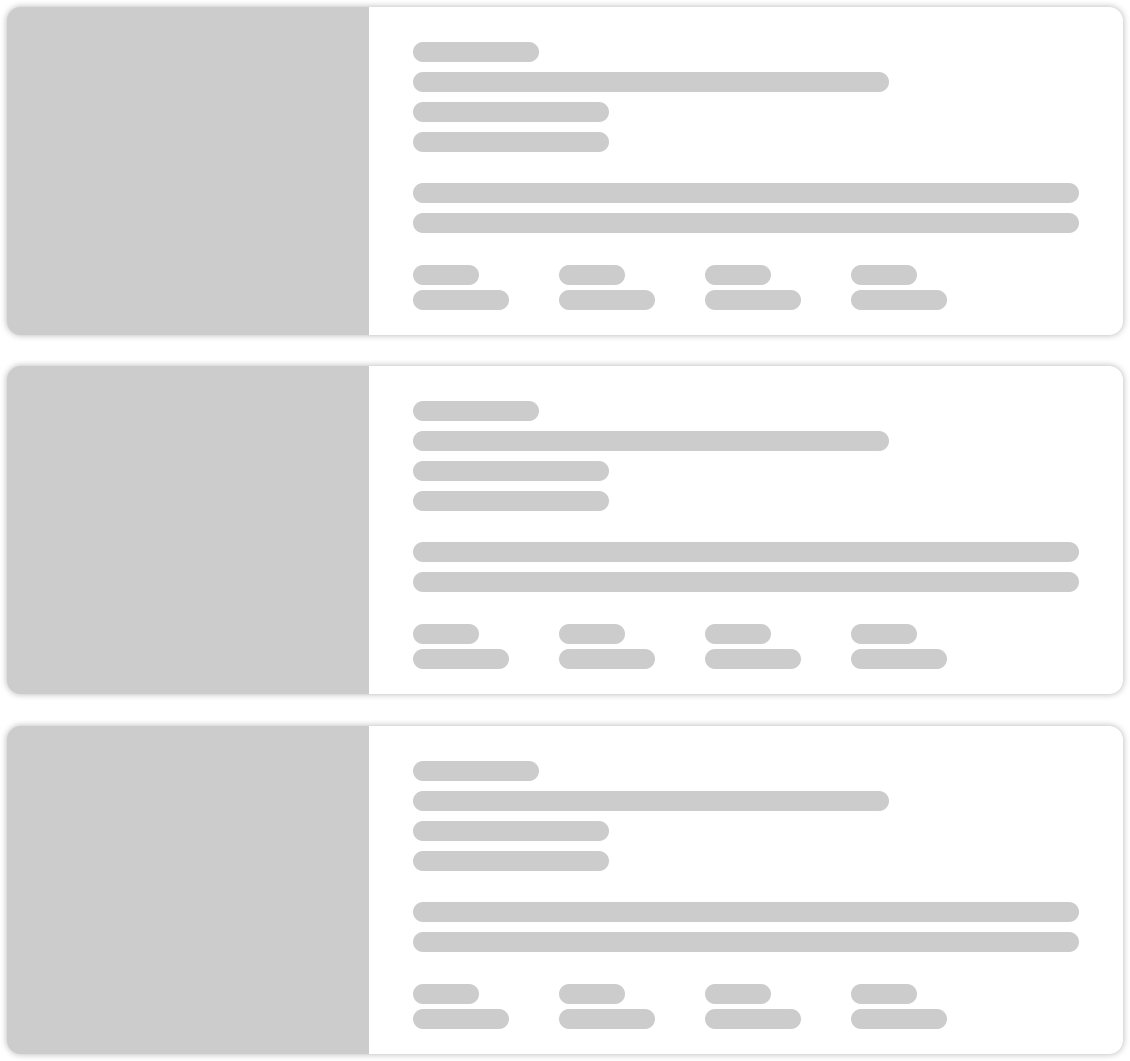
Grid
Row
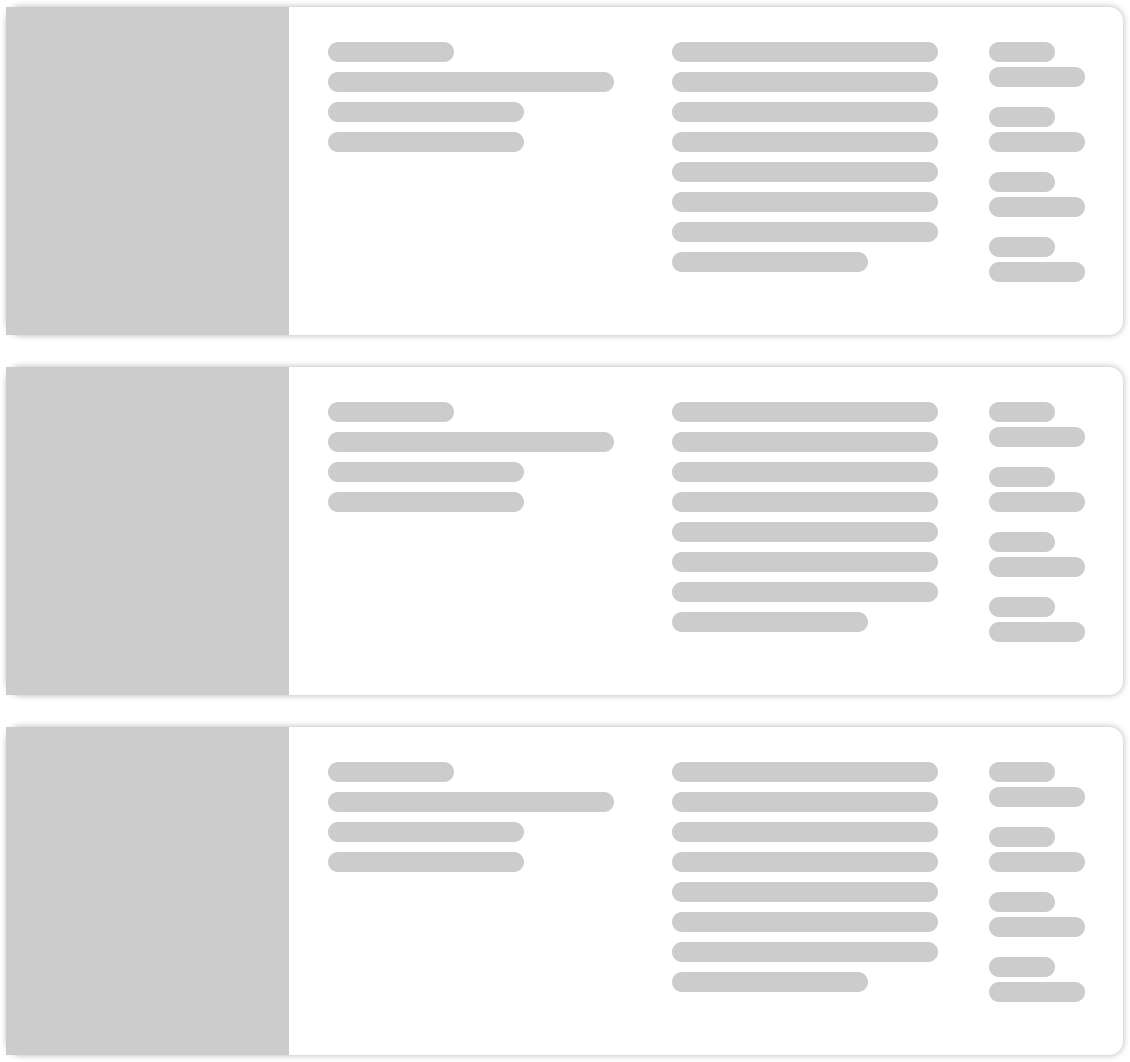
Row with Columns
Selecting a View
- In the WordPress dashboard click on Careers, then Settings, then Layout Settings
- Beside Views, select the view you want
- When your done, click the Save Settings button at the top right of the page
Feature Image
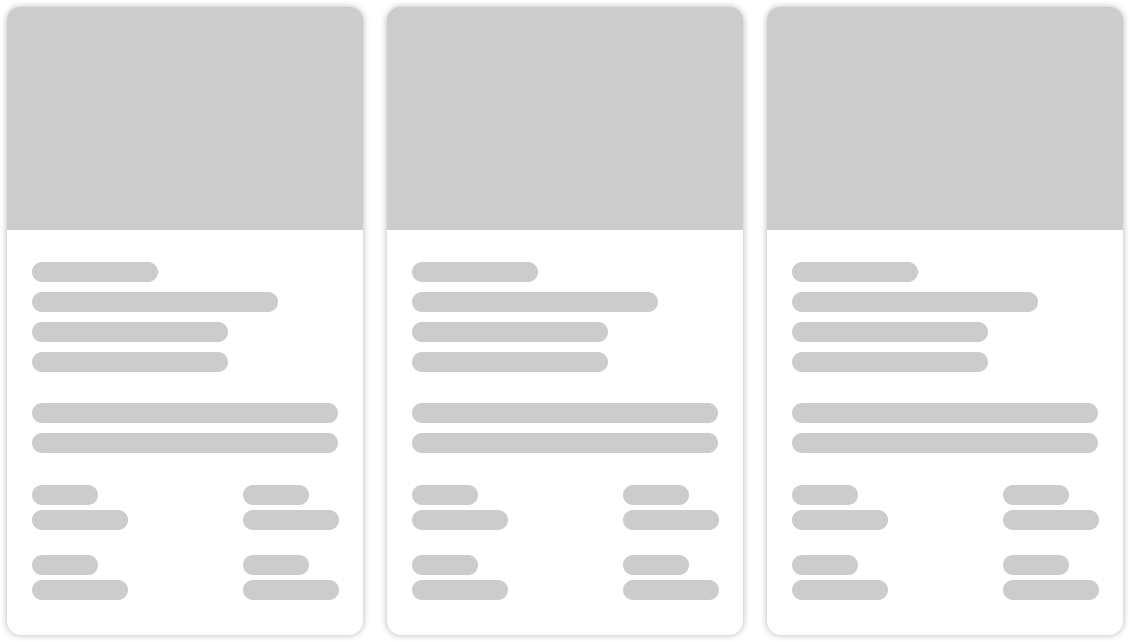
You can add an optional Feature Image to any job posting and the orientation of the photo will have a set structure in either a 16×9, 9×16, 4×3, 3×4 aspect ratio. Careers will then do it’s best to adjust the photo to fit.
Feature Images can be useful if your wanting to show the location of the job posting. For example, if a job posting is in Vancouver, you could display a Vancouver image.
Tip: The most common aspect ratio is 16×9 when using the Grid View, and 4×3 when using either Row Views.
Grid
Row
Row with Columns
Setting a Feature Image Aspect Ratio
If you’re not going to use a Feature Image, skip this.
- In the WordPress dashboard click on Careers, then Settings, then Layout Settings
- Beside Featured Image Ratio, select the ratio you want
- When your done, click the Save Settings button at the top right of the page
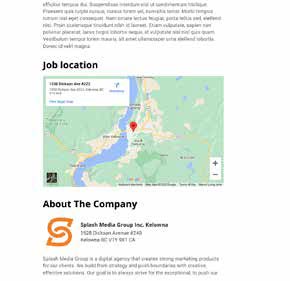
Map Settings
The Map Settings allow you to enable Google Maps to display on your job postings. Maps are disabled by default, and are an optional feature.
Important: If you enable this feature, a Google Map based on the job location will display for ALL job postings. If disabled, no maps will display.
Enable Maps for Jobs
- In the WordPress dashboard click on Careers, then Settings, then Layout Settings
- Beside Check to Enable Maps for Jobs, either check the checkbox to enable, or uncheck to disable
- When your done, click the Save Settings button at the top right of the page
Google Maps Default Zoom Level
Here you can adjust the zoom level of Google Maps. You may want to leave the default setting as-is.
- In the WordPress dashboard click on Careers, then Settings, then Layout Settings
- Beside Google Maps Default Zoom Level, enter a zoom level from 0 (zoomed out) to 21 (zoomed in)
- When your done, click the Save Settings button at the top right of the page